Both examples highlighted in this blog can be downloaded here.
In recent months, we've started delivering some Alteryx training to some of our customers around the idea of documentation best practices.
In one of these sessions we were asked about whether we can create an audit trail of the data process to a user whom doesn't have an Alteryx Designer license.
There's clearly quite a few ways this can be done, but the user specifically wanted to understand how they can write their original input data, to the same file as where their output data is stored.
The answer to this question is yes (with one caveat, your output file type must support multiple tables, cough, Excel, cough).
The process of implementing this is a fairly straightforward process, you just may have to use one tool that you haven't used before, the 'Block Until Done' tool, which forms part of the developer tool palette.
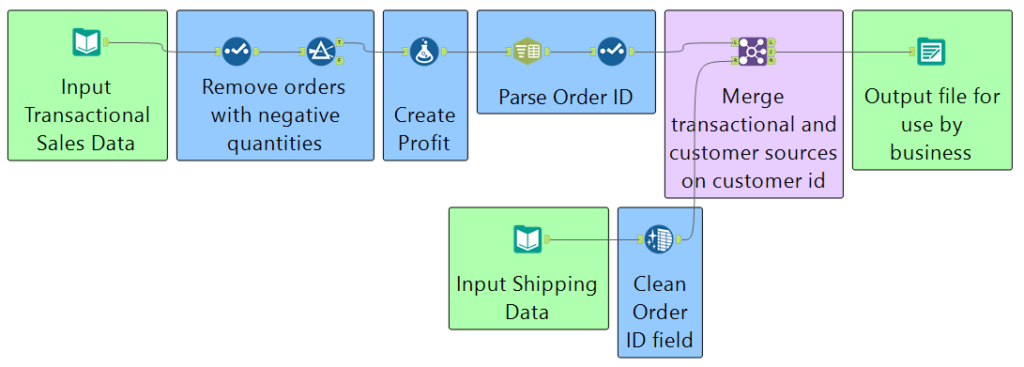
Let's take this extremely simple workflow. We have some transactional sales data and we are using Alteryx to clean it so that it can be used by other stakeholders.

It might be nice for our stakeholders to understand what the original data looked like, as they may want to verify the transformations that we have made.

The above workflow demonstrates the process that allows us to achieve this. We insert a 'Block Until Done' tool after our input, we then connect an output data tool to the '1' output anchor (configured too write to the same file as the output, just to a different sheet), and then connect our downstream processes to the '2' output anchor.
The purpose of the 'Block Until Done' tool here is to prevent downstream processes occurring into the input data has been written to our output file. If we did not have the Block Until Done it is possible that both outputs may try and write to the our output file at the same time, causing an error.
The really key configuration here is actually within each of the output data tools.

We must choose the output option 'Overwrite Sheet'. This prevents the whole file being destroyed and recreated with each of our output data tools. THIS SHOULD BE DONE FOR ALL OUTPUTS.
Once you've done this, and you run your workflow you should notice your output file now has multiple tabs!

An extension of this challenge is a 'multi input' workflow. Here we have the problem of having separate streams, which may be executing simultaneously.

We can manage this with the introduction of a 2nd tool, which again you may not have used before, the 'Parallel Block Until Done' tool which forms part of the CReW macro pack.

The final extension that I'd like to highlight is how this method can be used to create visibility of our data at any point in our process in our output file. Lets say, for example, that we want to take our data after we've created our profit field, and include that in our output. This can be done with exactly the same method as that shown in the first example, we simply bring in in a further 'Block Until Done' and output tool, and place that at whatever point we would like.

You get the idea...
Ben
