In this blog I will go through how I use fields generated from a dashboard filter action to update sheet titles as seen in Fig. 1 below using Sample Superstore data.
The dashboard above shows that when I filter for a single state or sub-category (depending which chart), the adjacent chart title will update to say what entry it has been filtered for.
For example, if I filter for Binders in the PROFIT BY SUB-CATEGORY chart, then the SALES BY STATE sheet will update to say SALES BY STATE FOR BINDERS.
Before proceeding with the steps on how to do this, build two charts. One sheet should have Sales by State as seen in Fig. 2, and the other sheet should have Profit by Sub-Category as seen in Fig. 3.


Steps:
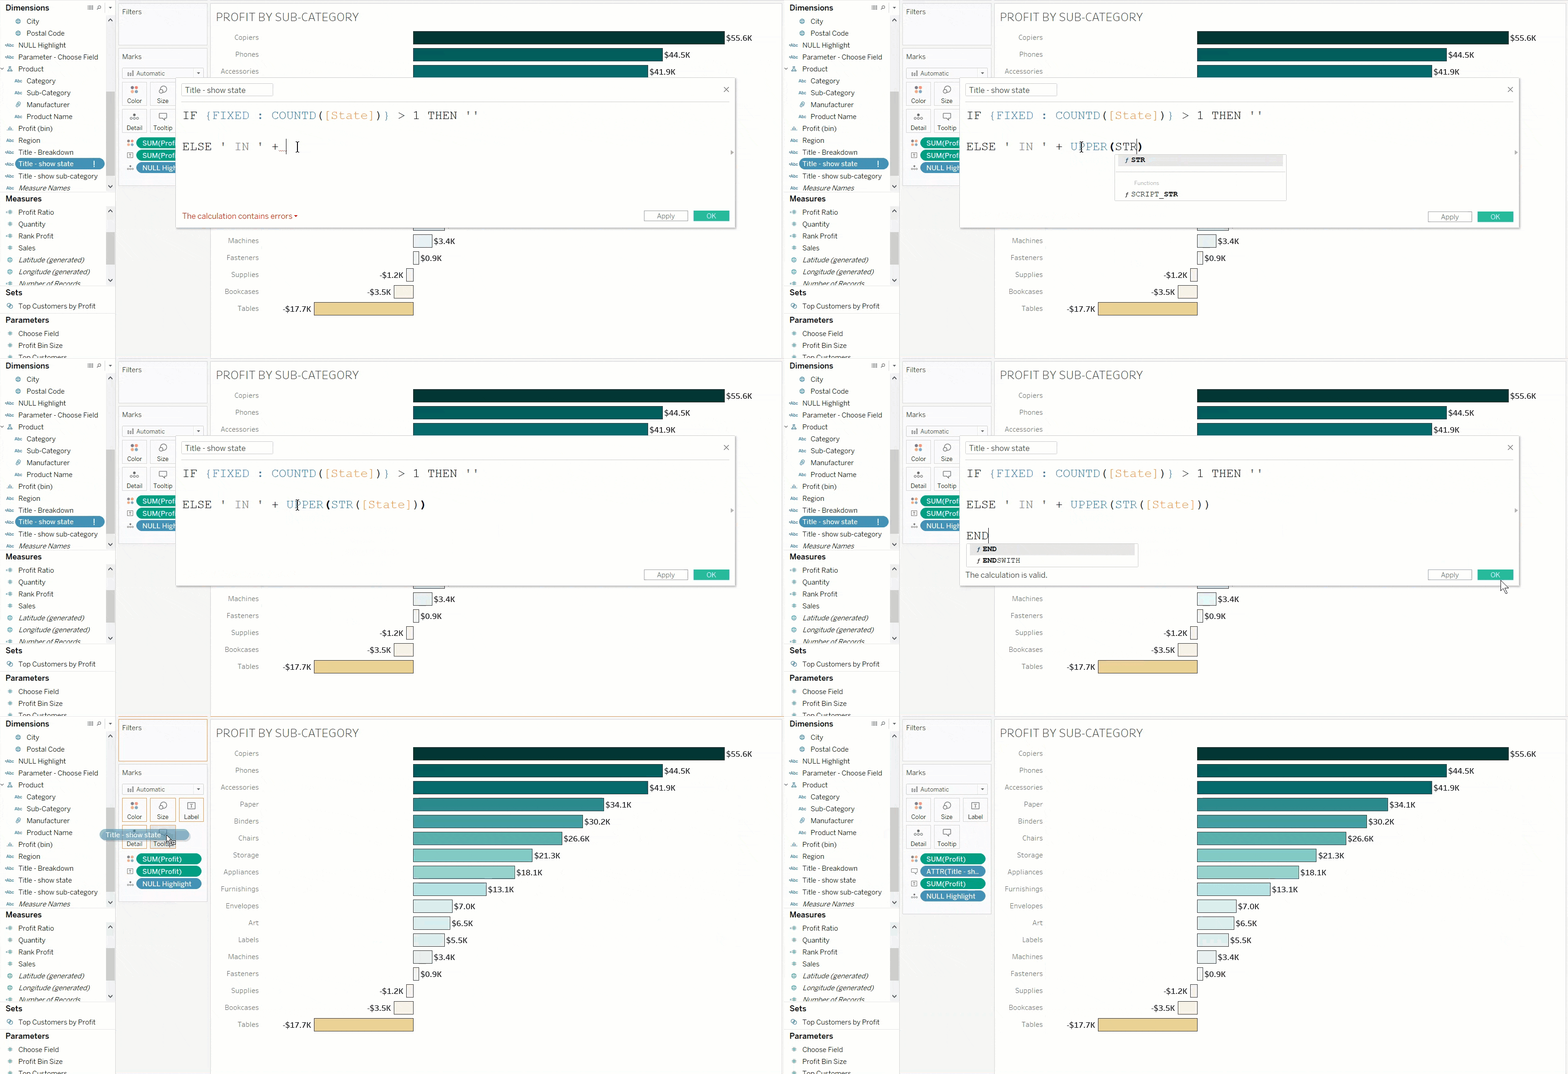
1) Create a calculated field and insert the following.
IF {FIXED : COUNTD([State])} > 1 THEN ''
ELSE ' IN ' + UPPER(STR([State]))
END
The above calculated field will be called Title - show state.
The above calculation essentially says: If the total number of states is greater than 1 then return a blank entry. Or, if its not greater than 1 (so, total number of states is 1) then return ' IN ' and the name of State in upper case.
2) Create another calculated field and insert the following.
IF {FIXED : COUNTD([Sub-Category])}>1 THEN ''
ELSE ' FOR ' + UPPER([Sub-Category])
END
This calculated field will be called Title - show sub-category.
3) Add Title - show state to the sheet with Profit by Sub-Category onto the Tooltip card in the Marks pane. Then add this field onto the title at the end of the text.
4) Add Title - show state calculated field to the sheet with Sales by State onto the Tooltip card in the Marks pane. Then add this field onto the title at the end of the text.

5) Add both sheets that were built in Figures 2 and 3 onto a dashboard, and place them next to each other.
6) Set up two dashboard action as seen in both Figures 5 and 6.


7) Enable the both of the dashboard actions. Then you'll notice in both sheets that the dashboard filter action field will appear both of the sheets' filter pane. You'll notice that it has two overlapping rings, showing that that filter action field is a set.

8) Add both of the fields in each sheet to context.

All set! Now, your dashboard should update to show which bar you filter, provided you select one bar.
Why one bar? This is because the calculated fields in steps 1 and 2 are only looking for one [Sub-Category] or [State] in the respective views.
If you would like to view the workbook and see how it was built then you can view it on this link.
Let me know what you think. Feel free to post your thoughts below in the comment section.
