Companies are often reluctant to change the way certain things are presented, especially when it comes to Excel and PowerPoint files and reports. These programs have been around for many years and most users in the firm are now somewhat used to navigating them. However, there are still ways you can help your company automate some of these more ‘traditional’ processes. In this blog post we look at how we can fully automate the process of updating an existing PowerPoint file using Alteryx.
With Microsoft Office 2007, Microsoft introduced a new file format for PowerPoint presentations – .pptx – which are XML based files.
Using Alteryx, we can create a fully automated workflow that extracts the underlying XML from a .pptx and modifies it accordingly. To do this, we’ll need to follow these steps:
1. Access the XML
The files with extension .pptx can be extracted into the different XML components using 7zip. Simply right click on the file and navigate to 7zip > Extract files… You will be able to set up the location and folder name for the XMLs to be extracted to.
Once successfully extracted, you should see the following folder structure.
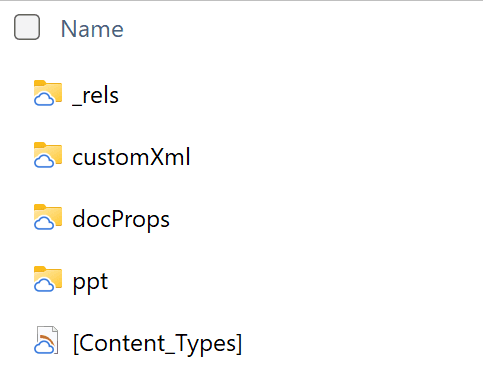
Most of the materials that you’ll likely need to modify can be found in the ‘ppt’ folder. There you can find the slides and charts, amongst other things, helpfully separated and classified into folders. Take some time to familiarize yourself with the extracted content and flag the files that contain the data you’d like to modify. If you’re looking to update a specific chart, you’ll probably find it in ppt>charts. If you’re looking to modify a string within a slide (for example the month name or certain values displayed), you should be able to find the relevant slide in ppt>slides.
2. Load the XML file into Alteryx
Once you have located the relevant XML file, it’s time to load it into Alteryx. We do this using an Input Data tool with the following configuration
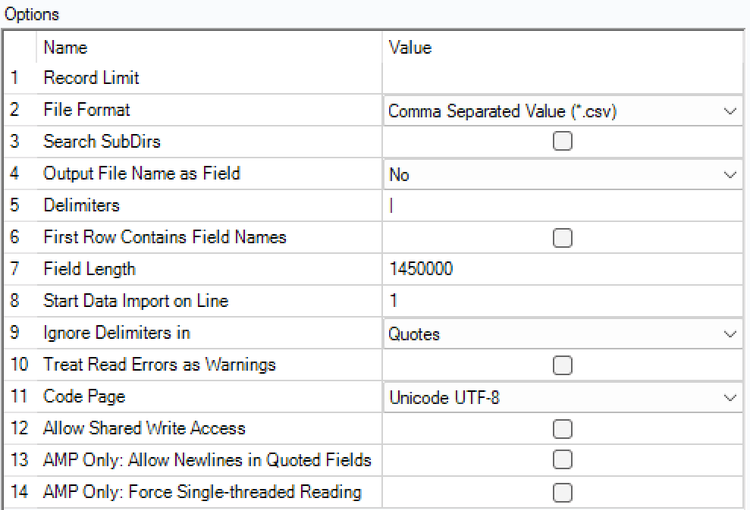
The main things that need altering are:
File Format: even though it’s an xml and it will automatically be identified as one, change this option to be a csv file instead.
Delimiters: choose one that is not present in the XML files. You might have to go through the XML file you are about to modify and search for different delimiters until you identify one that is not present. In my case, a pipe (|) was an appropriate delimiter.
First Row Contains Field Names: untick this option.
Field Length: choose a large number to be able to fit the entire XML.
Code Page: Unicode UTF-8.
Running the workflow should result in two rows of data. The first one contains information about the file while the second one contains the data itself.
3. Modify your XML
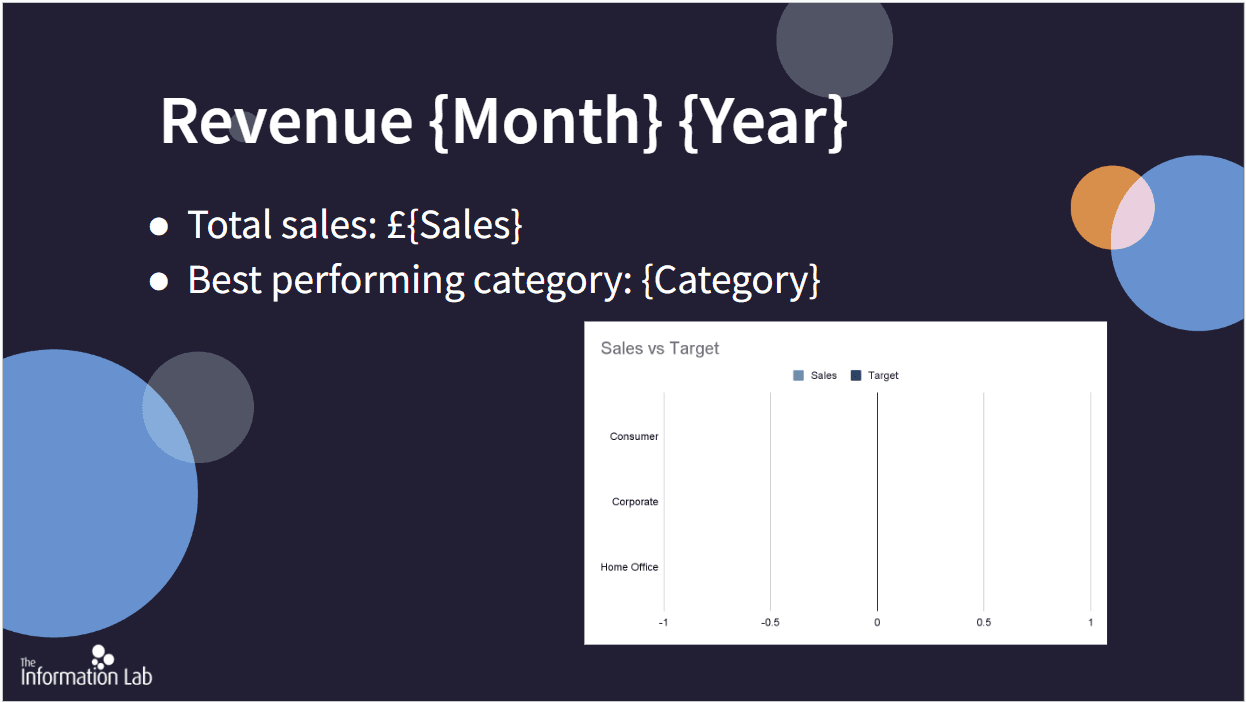
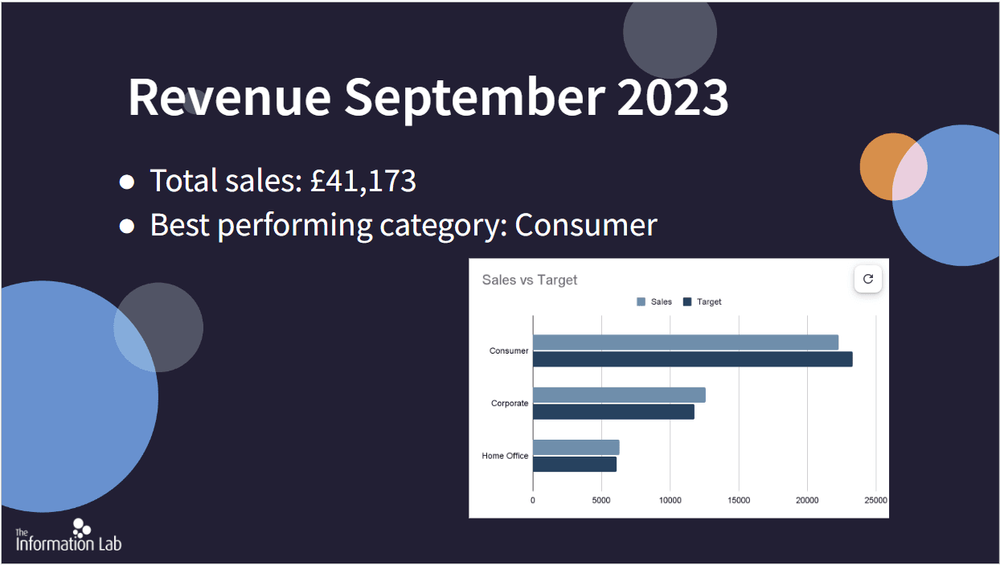
The method described in this blog works best when you have a PowerPoint template to edit. For example, say your slides showcase revenue data that gets updated on the first of the month to show the previous month’s performance. In that case, I would create a template to update monthly which contains placeholders for my updated values. For example, something like this:
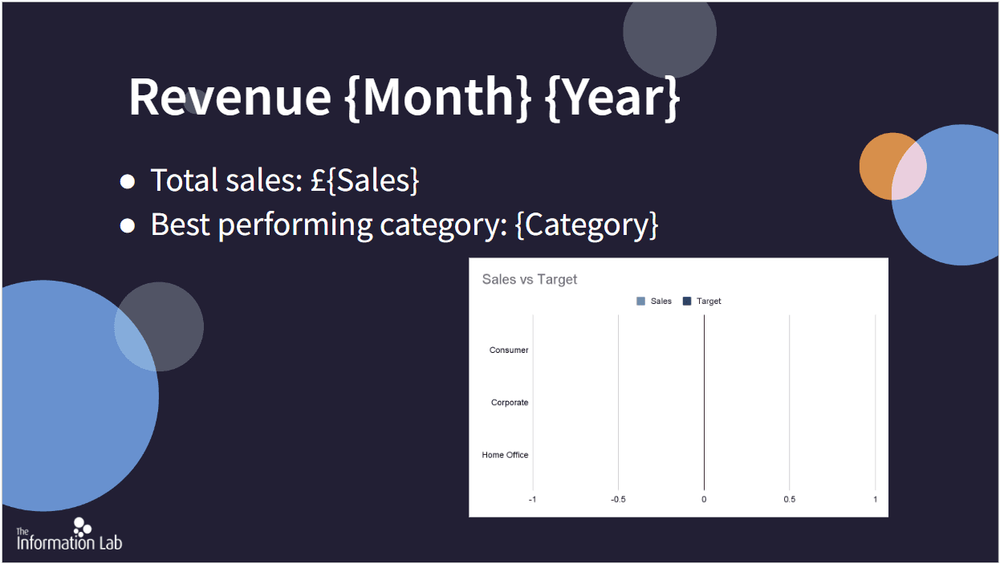
I have wrapped the values I want to modify in {}. This will allow me to find these values faster with Alteryx and replace only those specific strings with the updated data.
In order to update my slide, I would input ‘chart1.xml’ and ‘slide1.xml’ into Alteryx using the configuration detailed above.
I would also manipulate my data appropriately to find out the missing values. In this example, I need the month and year, as well as total sales for that period and the best performing category in terms of sales. I also need sales and target values for each category for the relevant date period.
Once I have extracted all this information from my data, I can then use a Find and Replace tool to substitute the placeholder values from the slide and the chart and replace them with the updated values.
All the individual files that you are modifying within the PowerPoint file will need to be kept separate and output separately, in the same way as they were inputted. We are essentially modifying existing files, so we will still want to output a ‘chart1.xml’ and a ‘slide1.xml’ but in this case they should contain the new values.
Once you have modified all the relevant parts that you need from the file, output the XMLs with the following configuration:
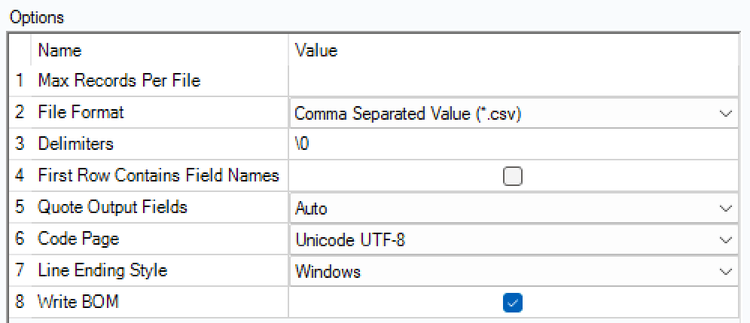
File Format: csv.
Delimiter: ‘\0’.
First Row Contains Field Names: unticked.
Code Page: Unicode UTF-8.
4. Zip the XMLs back and open the new .pptx
To be able to open the modified XMLs as a PowerPoint file, they need to be zipped back up into a single folder that follows the same structure as the original. You’d therefore have to select all the content shown in Figure 1, right click and zip it up via 7zip. Once zipped, on PowerPoint, go to the ‘Open’ menu and browse for your newly zipped folder. You’ll likely have to change the type of files that you’re looking for, so that it includes all files as shown below.
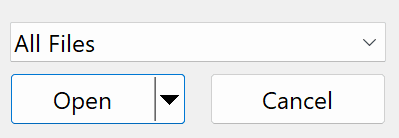
This should then give you the option to open the modified and zipped folder containing all the XMLs as PowerPoint should identify it as a compatible file, being able to save it as a .pptx file. In the example covered earlier, the outcome is as follows:
5. Fully automate the process
The process described in the above steps does entail two very important and manual steps, extracting and zipping the files using 7zip. However, these two steps can be automated by using the Command Run tool. The process for this in Alteryx looks as shown below in Figure 7.
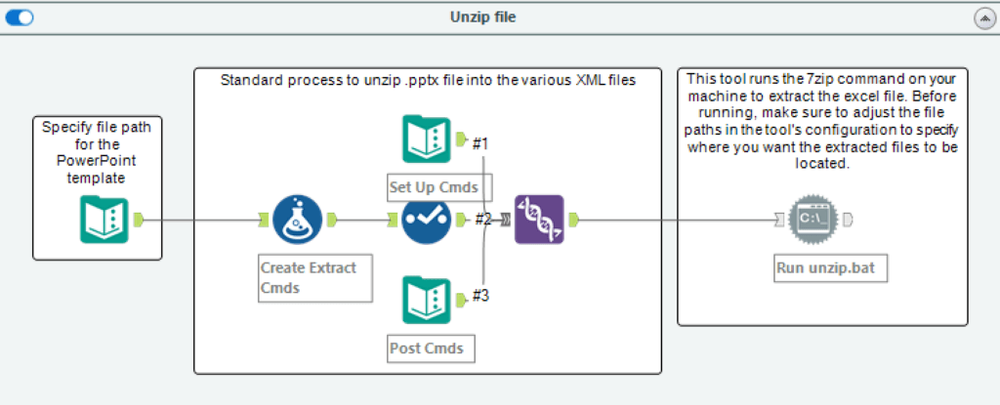
This unzipping step needs to happen first, then we can modify the XML files, otherwise, we would not be able to modify them as these files do not yet exist in Alteryx’s eyes until they are fully unzipped.
Therefore, it is important to ensure the process is run sequentially. If your workflow is erroring because the XML modification part is trying to run at the same time or before than the unzipping step, you’ll have to either add Control Containers (if you’re working with version 2023.1 or later) or a Parallel Block Until Done which is a CReW macro (if you’re working with a version prior to 2023.1). An important note here is that if you are using Control Containers, you will need to enable the AMP engine whereas if you’re using the Parallel Block Until Done macro, you will have to disable the AMP engine as they are not compatible.
Similarly, the zipping step can be automated as follows:

Again, this step will need to run last, only once the XML has been modified, so needs to follow a sequential order. If you are having problems with this, you might have to use either Control Containers or a Parallel Block Until Done macro. You could also have this process split into three separate workflows and run them separately and following the correct order (unzip > modify > zip).
Conclusion
With this process, you can fully automate the monthly updating of your PowerPoint report to run with the click of a button or even have it scheduled on Server if you know the frequency in which your new data comes in so that the workflow can run once this is ready.
An almost identical process can be followed if you are looking to update your Excel (.xlsx) files or even automate the process of updating and bringing charts from an .xlsx to a .pptx for example. So feel free to give this a go and if you have any questions or comments, don’t hesitate to reach out in the comment section below or via e-mail at carmen.rapariz@theinformationlab.co.uk.
