

I was recently writing another blog post, and within that I wanted to link to a good blog which outlined, in the simplest way, how to connect Alteryx, to the MongoDB that sits beneath Alteryx Server, but I just couldn't find one, so here we go!
In this post I will highlight two ways to connect to the MongoDB, the first way is perhaps the simplest (if you are an admin), and involves using Alteryx Designer on the server machine (local host) itself.
The 2nd method will outline how we can connect to the MongoDB, on the Alteryx Server, via your own laptop/computer.
For both methods, you will need the MongoDB 'Password' (not 'Admin Password') to successfully access the database; this can be found through the 'Alteryx System Settings' programme on the Alteryx Server machine.
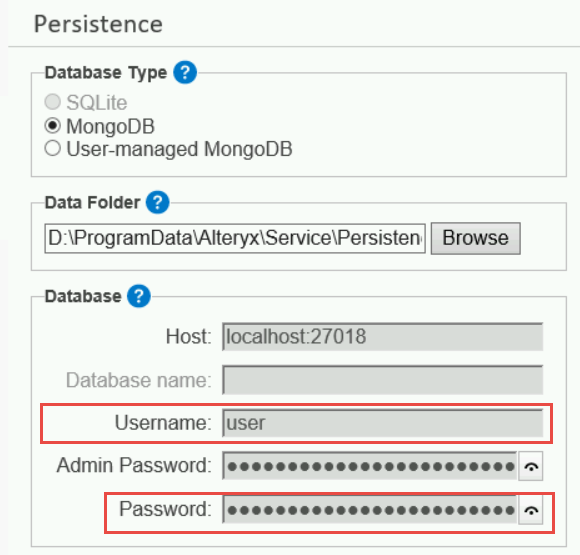
To view the password, you can use the icon to the right of the box.
So, let's login to our Alteryx Server machine and open Alteryx Designer (probably via a remote desktop client of some sorts!).
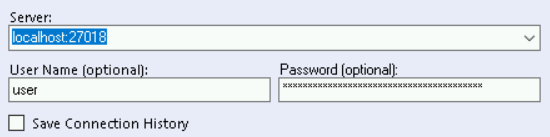
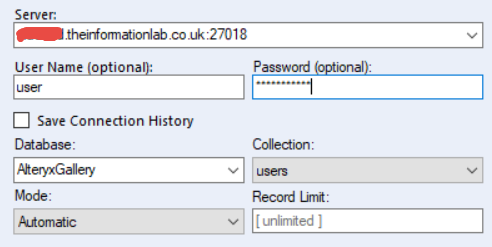
We'll bring a MongoDB Input tool onto the canvas and then start our configuration.
Our 'Server' is the 'Host' in the image above; it is more than likely to be localhost:27018 (27018 referencing the port number to access the database and this is the default value for an Alteryx Server MongoDB).
The 'User Name' is 'user' and the 'Password' is the longgggggggggggggggggggggggggg password highlighted above.
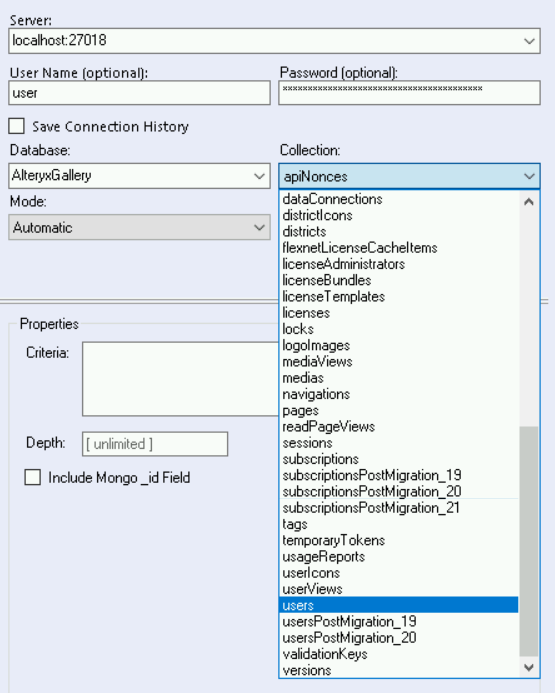
Now within our MongoDB underlying Alteryx Server, there are two databases 'AlteryxService' and 'AlteryxGallery'.
You must manually type in one of these which will then load values into the 'Collections' dropdowns, which are our tables.
This document gives details for the key tables which we are likely to connect to from the collections that exist in either database, but of course you can explore at your own will!
The Alteryx Server Usage Report can also be used to provide insight into the relevant details stored in different collections within the MongoDB, and I will discuss this in detail at the end of the article.
But at this point, once you have selected the collection you want to use, you can then run your workflow and see the data that you requested.
Connecting via your own machine is almost identical, apart from the notion that you need to change the 'Host' address (because running the command 'Localhost' on your own computer, refers to your own computer and not the server machine!).
So instead we need to use the IP or hostname for the server instead of 'localhost', so it should look something like this...
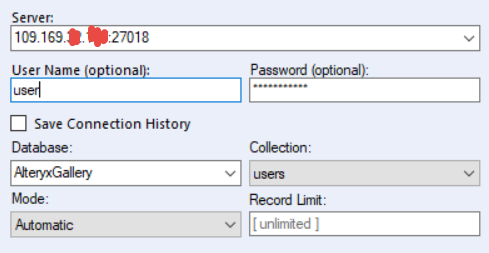
Everything else can stay as is; but, should you have any issues arise when trying to connect in this way, it is likely that the port is 'not open' and therefor preventing a connection from external devices.
This post started by fellow ace Patrick Digan shows a good example of debugging such an issue.
As mentioned earlier, the Alteryx Server Usage Report provides a good starting point in terms of understanding how we can link different collections together to build out a datasource that can be useful.
The Alteryx Server Usage Report is available to download as a .zip file from licenses.alteryx.com.
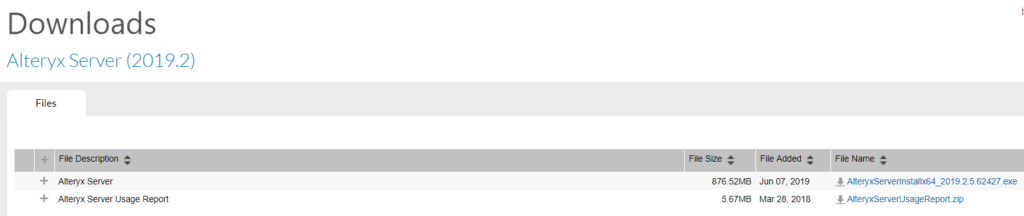
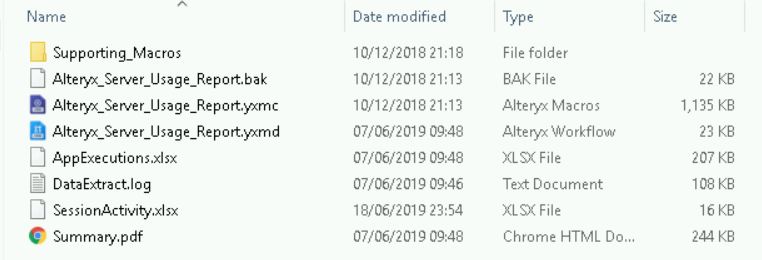
This .zip file contains the workflow required to generate the usage report, 'Alteryx_Server_Usage_Report.yxmd', but that workflow references a macro, 'Alteryx_Server_Usage_Report.yxmc'; which if you open in Alteryx Designer, contains all the processes Alteryx have used to bring these tables together.
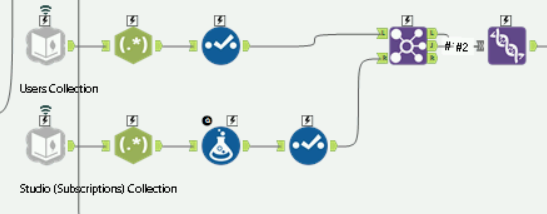
In the image above, I've taken a screen-grab of just a small sub-set of the macro, but you can clearly see this is a template that we can use to merge together Users and Studio data.
A quick note, I'm no technical server guru by any means, so if you have issues connecting to MongoDB, make sure the Alteryx Community is your first port of call!
Ben